
King of beer… Making.

From as early as the 5th millennium BC (~7,000 years ago) humans have been producing alcohol for the purposes of becoming intoxicated. As such, many more have tried brewing their own beer at home. With the rise of home brewing, the industry of Craft Beer was born. Like all those before me, I too wanted to give it a crack to see if I could make probably the greatest beer in the world. However, it was not until I received a gift of a home brewing kit from a thoughtful other half that I could finally give it a good go.
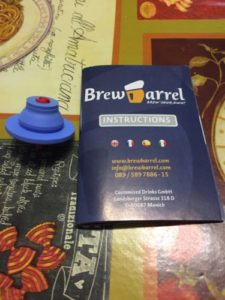
If you’re interested in trying to brew your own, try picking up a kit at any decent off-lincense/liquer store. The kit I’ve used is from BrewBarrel.
Step 1,
Gathering: Regardless of the brew kit you decide to purchase, the below ingredients except for the beer mats are required. In the event that your kit does not come with a measuring bottle, make sure you have a measuring jug lying around somewhere.
So what's required?
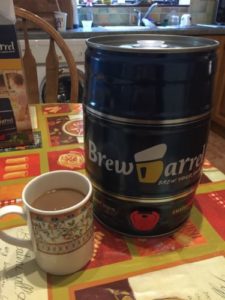
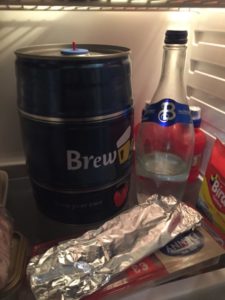
- 1 x 5 litre barrel.
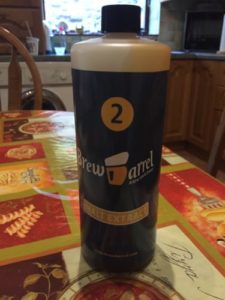
- 1 x bottle of Malt extract.
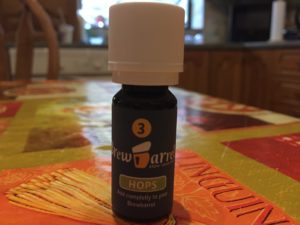
- 1 x bottle of hop extract.
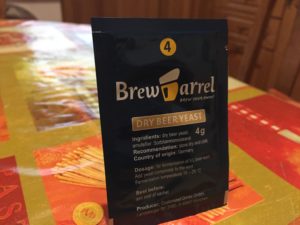
- 1 x package of yeast.
- 1 x pressure control valve.
- 3 x beer mats (not required)
Step 2,
According to the manual, the preparation stage should take between 10 to 15 minutes. This was a lie.
I started by removing the little transparent lid from the top of the barrel. Then I began pouring the malt extract in the narrow hole of the barrel. The viscosity of the malt extract meant it took far longer than I thought it would. It had the consistency of honey and was a strain to hold for so long. Finally, after the last drop, (which took 10 minutes by itself) I could begin to add the second ingredient. 1 x small amount of water. This marker is low on the bootle. Next was an almost full bottle load of hot water. The bottle was hot so be careful if you are following along. They warn you about the barrel getting hot but not the bottle.
Once your water and malt is in, seal up the barrel with the transparent cap and shake for 30 seconds. Press down on the lid though, to make sure no hot water makes it out to roast you. You can remove the lid now (and throw away) as it is not needed anymore. Add the hops, then add 4 more bottles of water. This time filling to the top cold marker.
Finally, add the yeast. At this stage, you should be able to see the wort bubbling away in the barrel. All is left now is to put the pressure valve in place. This is quite tricky and is hard to do Make sure you push in the centre but not too hard as you can bend the barrel’s insert and ruin the barrel. The manual suggests a 5 day waiting period (at room temperature) for the fermentation period plus two additional days for maturation in the fridge. This is trick as you may need to re-arrange a shelve or two.
Now we play the waiting game…
Step 3,
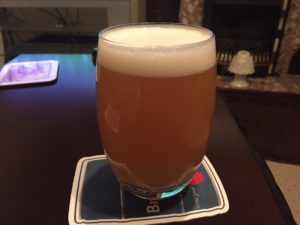
After 8 days, (I left it in for an extra day) we’re ready to break out the beer. It is cloudy which is to be expected as mass produced beer is filtered using chemical and mechanical filtration processes. The purer of people prefer their beer chemical free. It doesn’t look as appealing as the mass produced stuff but it tastes delicious. I can’t help however feel that I could have done a better job. I may have to make another batch. 😉
Pro Tip(s): Make sure you read the instructions about keeping the barrel upright during the refrigeration period, also. Make sure when opening, you pull first, then twist. Otherwise you’ll have a flooded fridge as I’ve had… Twice.
Verdict: Tastes really good, however, I’d like to see if I could make a flavoured beer next. It was quick to prepare but not as quick as the manual suggested.
So there we have it, one more item check off the ‘Manly’ list of 2017. 🙂